In my last entry about this grey Telecaster I explained how the choice of colour was a very laid back decision – the primer/base coat was grey and we liked it. Telecasters are awesome because they are simple machines, and the colour selection process was much the same!
This will be quite a brief post, just about the assembly process. Unfortunately, last year when I was putting this guitar together, I did not document it too well. But as you will see, I need to return to it for some minor adjustments which I will document with better detail for this blog.
Anyway, here we go:
First things first…get yourself one of these:

Any large toolbox will do. This is assuming, of course, that you do not already have a workshop or shed just for these projects, and need a small space to keep everything. I definitely fall into that category!
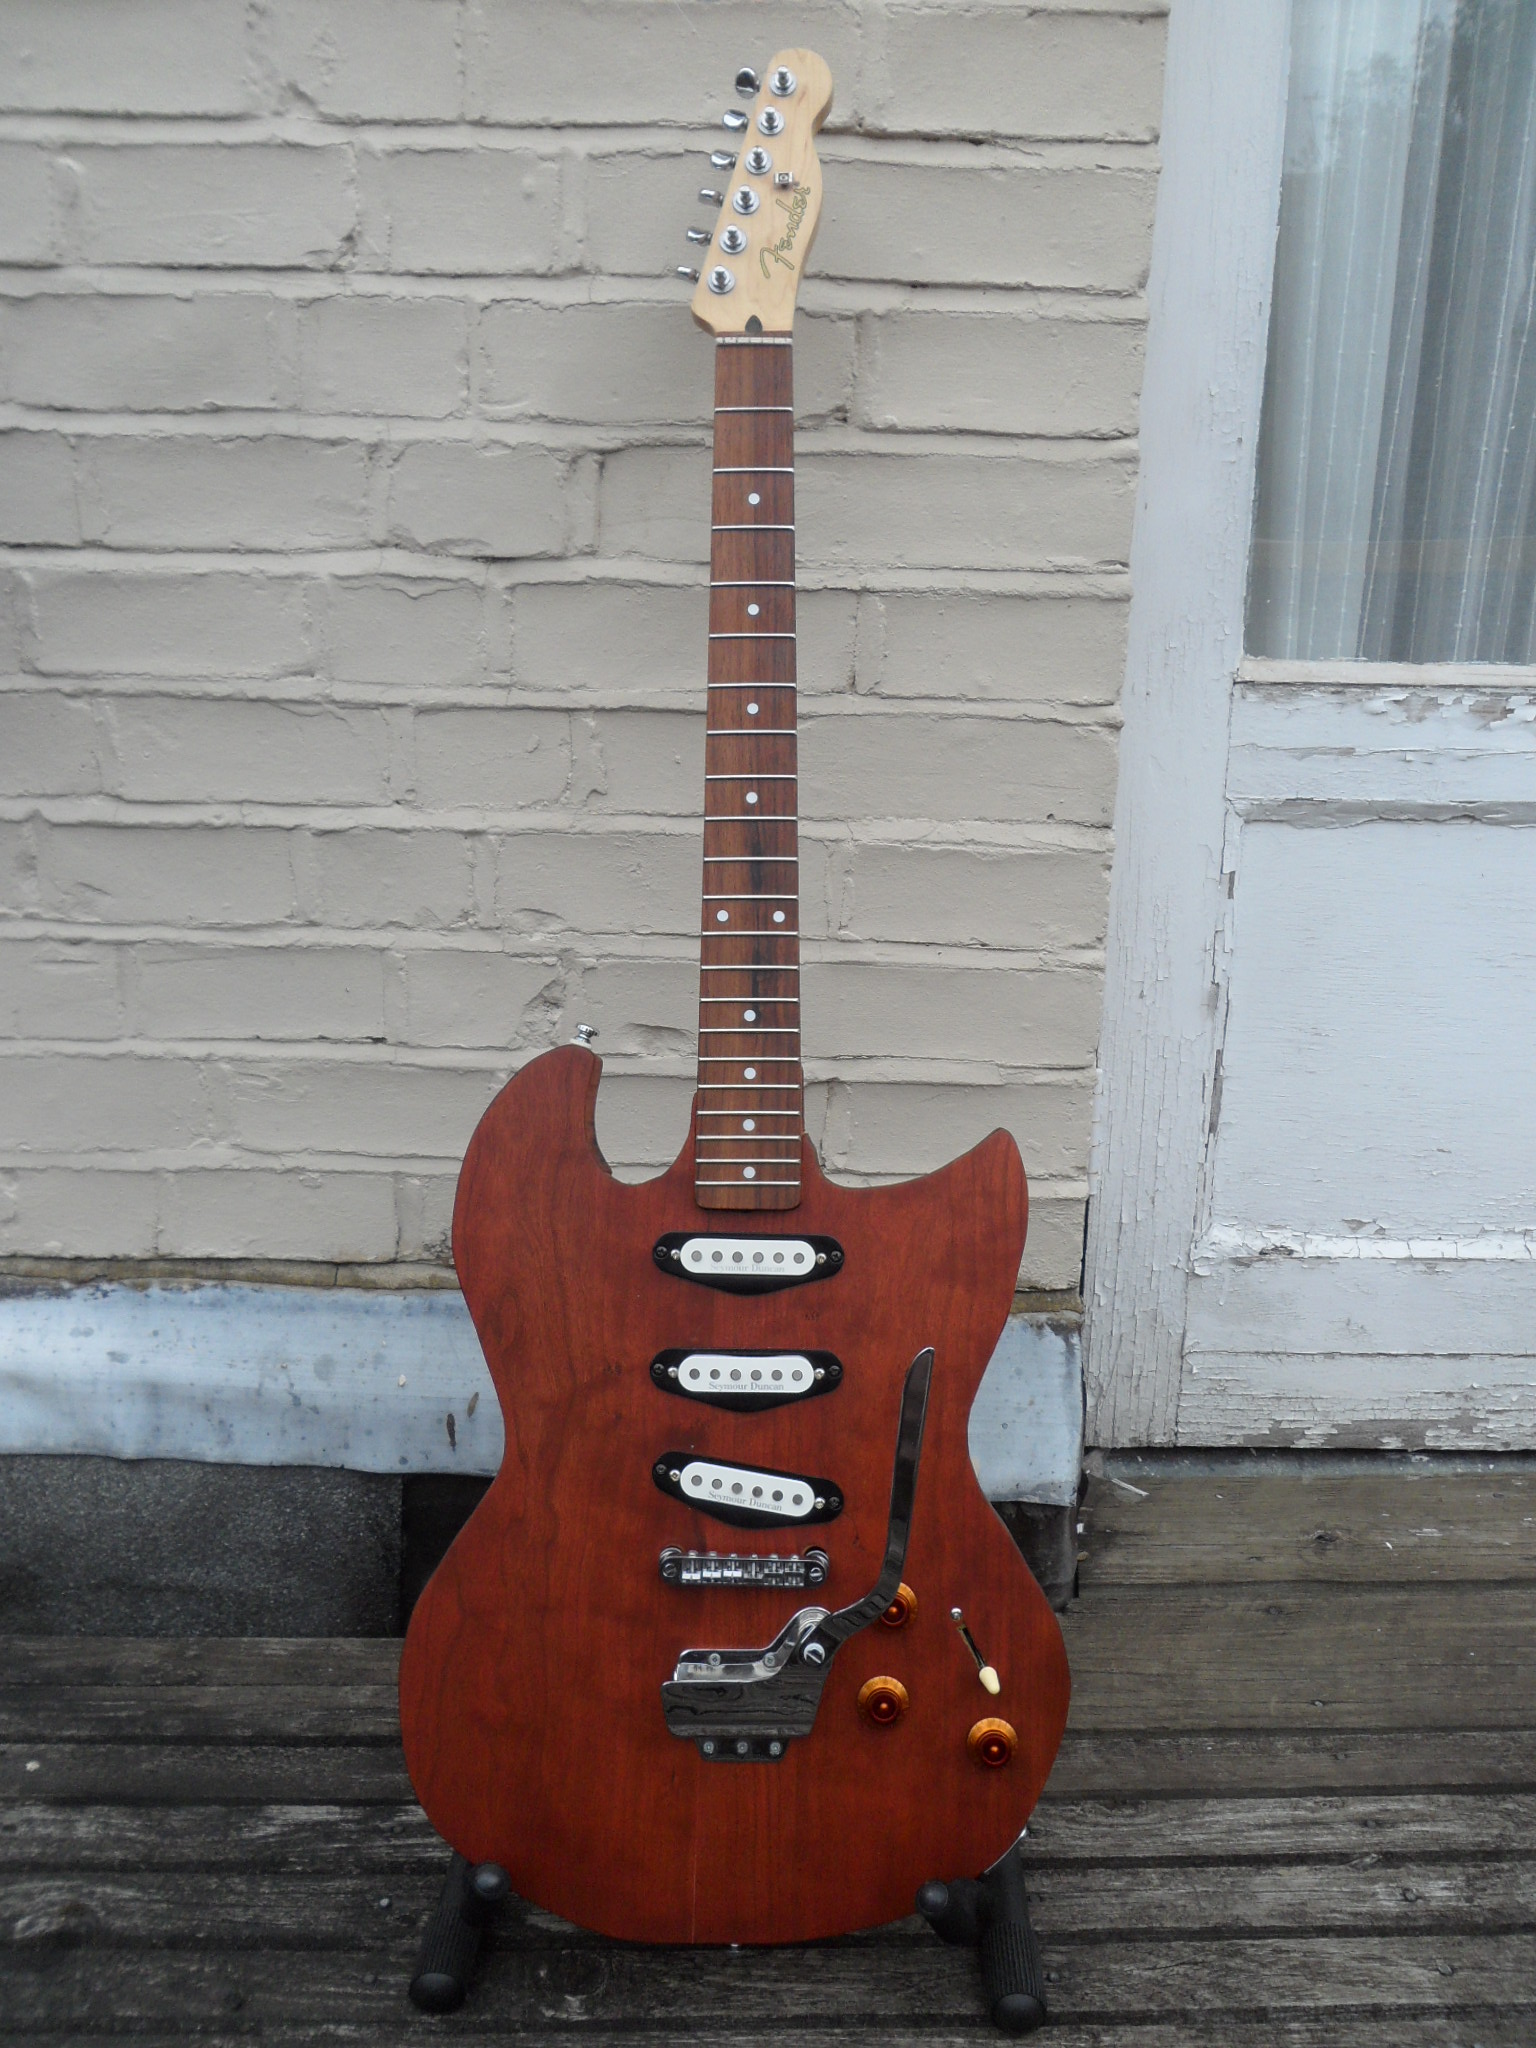
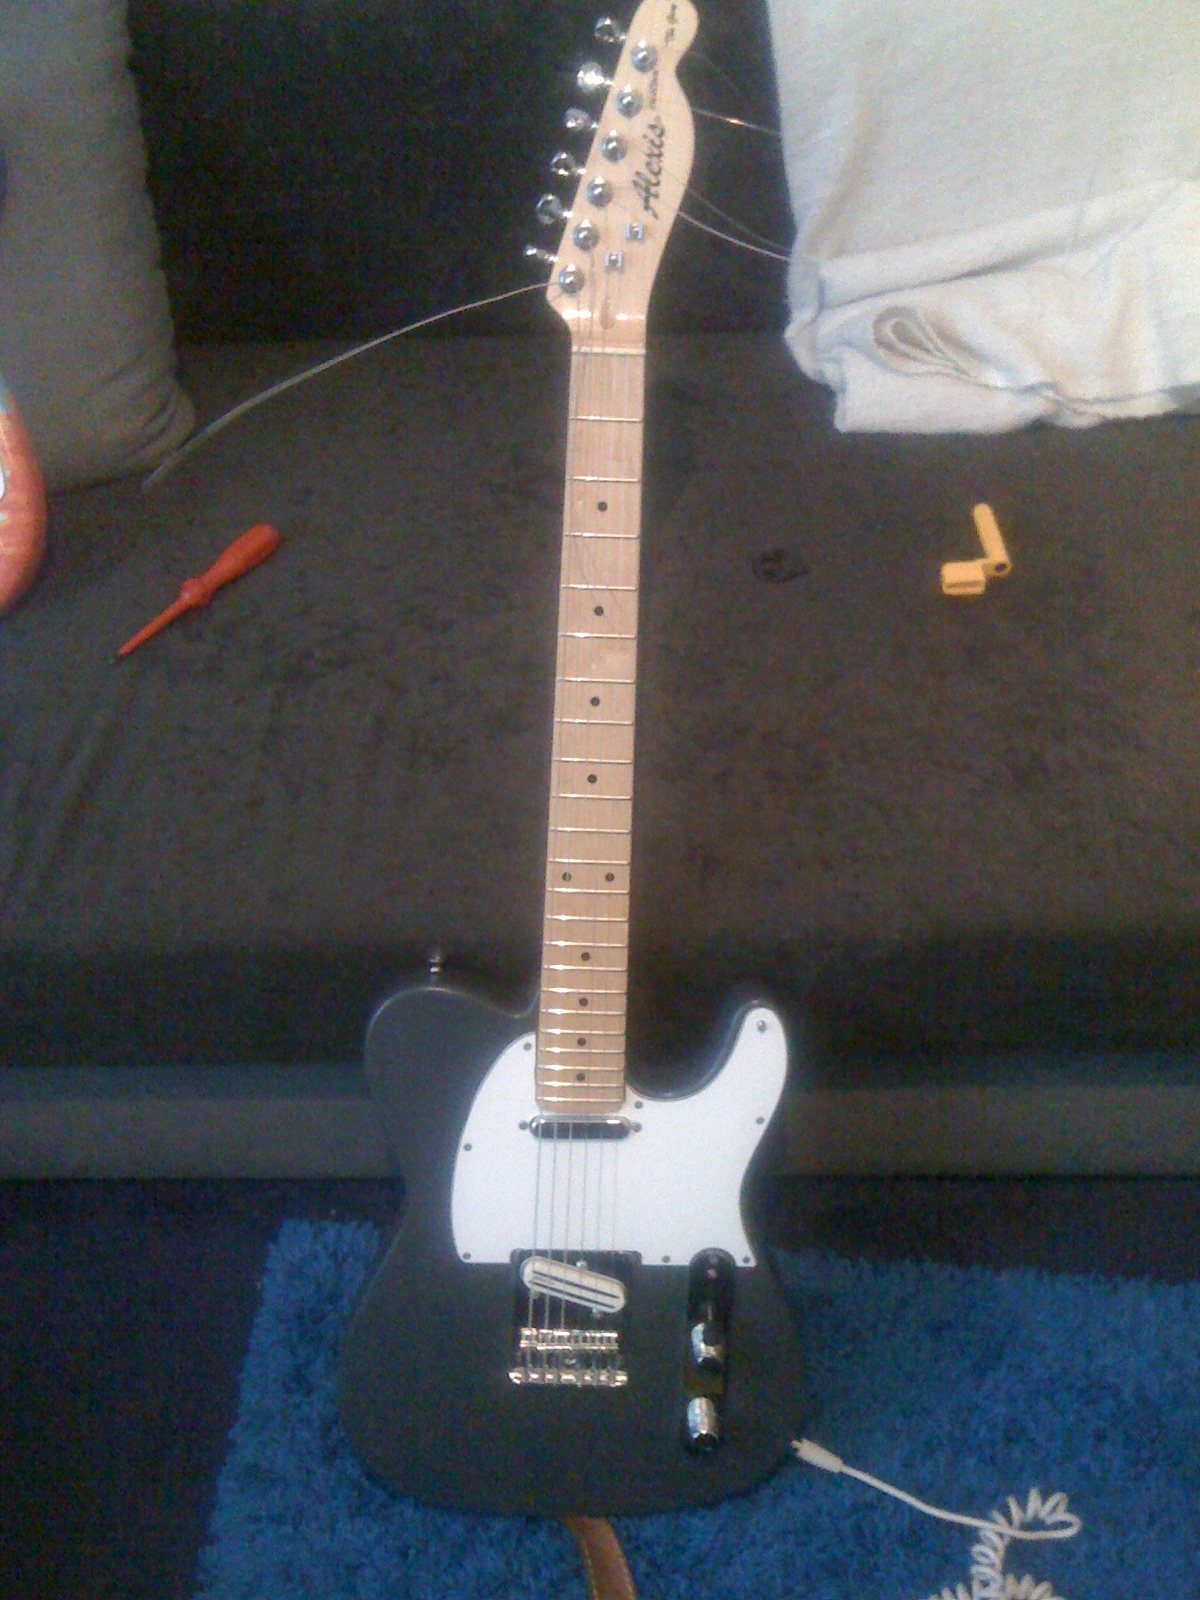
Here is an update with all the hardware (minus pickups) screwed on.

The neck was another £20-30 ebay buy. It still holds up great today. Such a bargain! They do need a bit of tidying up to start with e.g. filing down some sharp fret edges, but only minor adjustments!
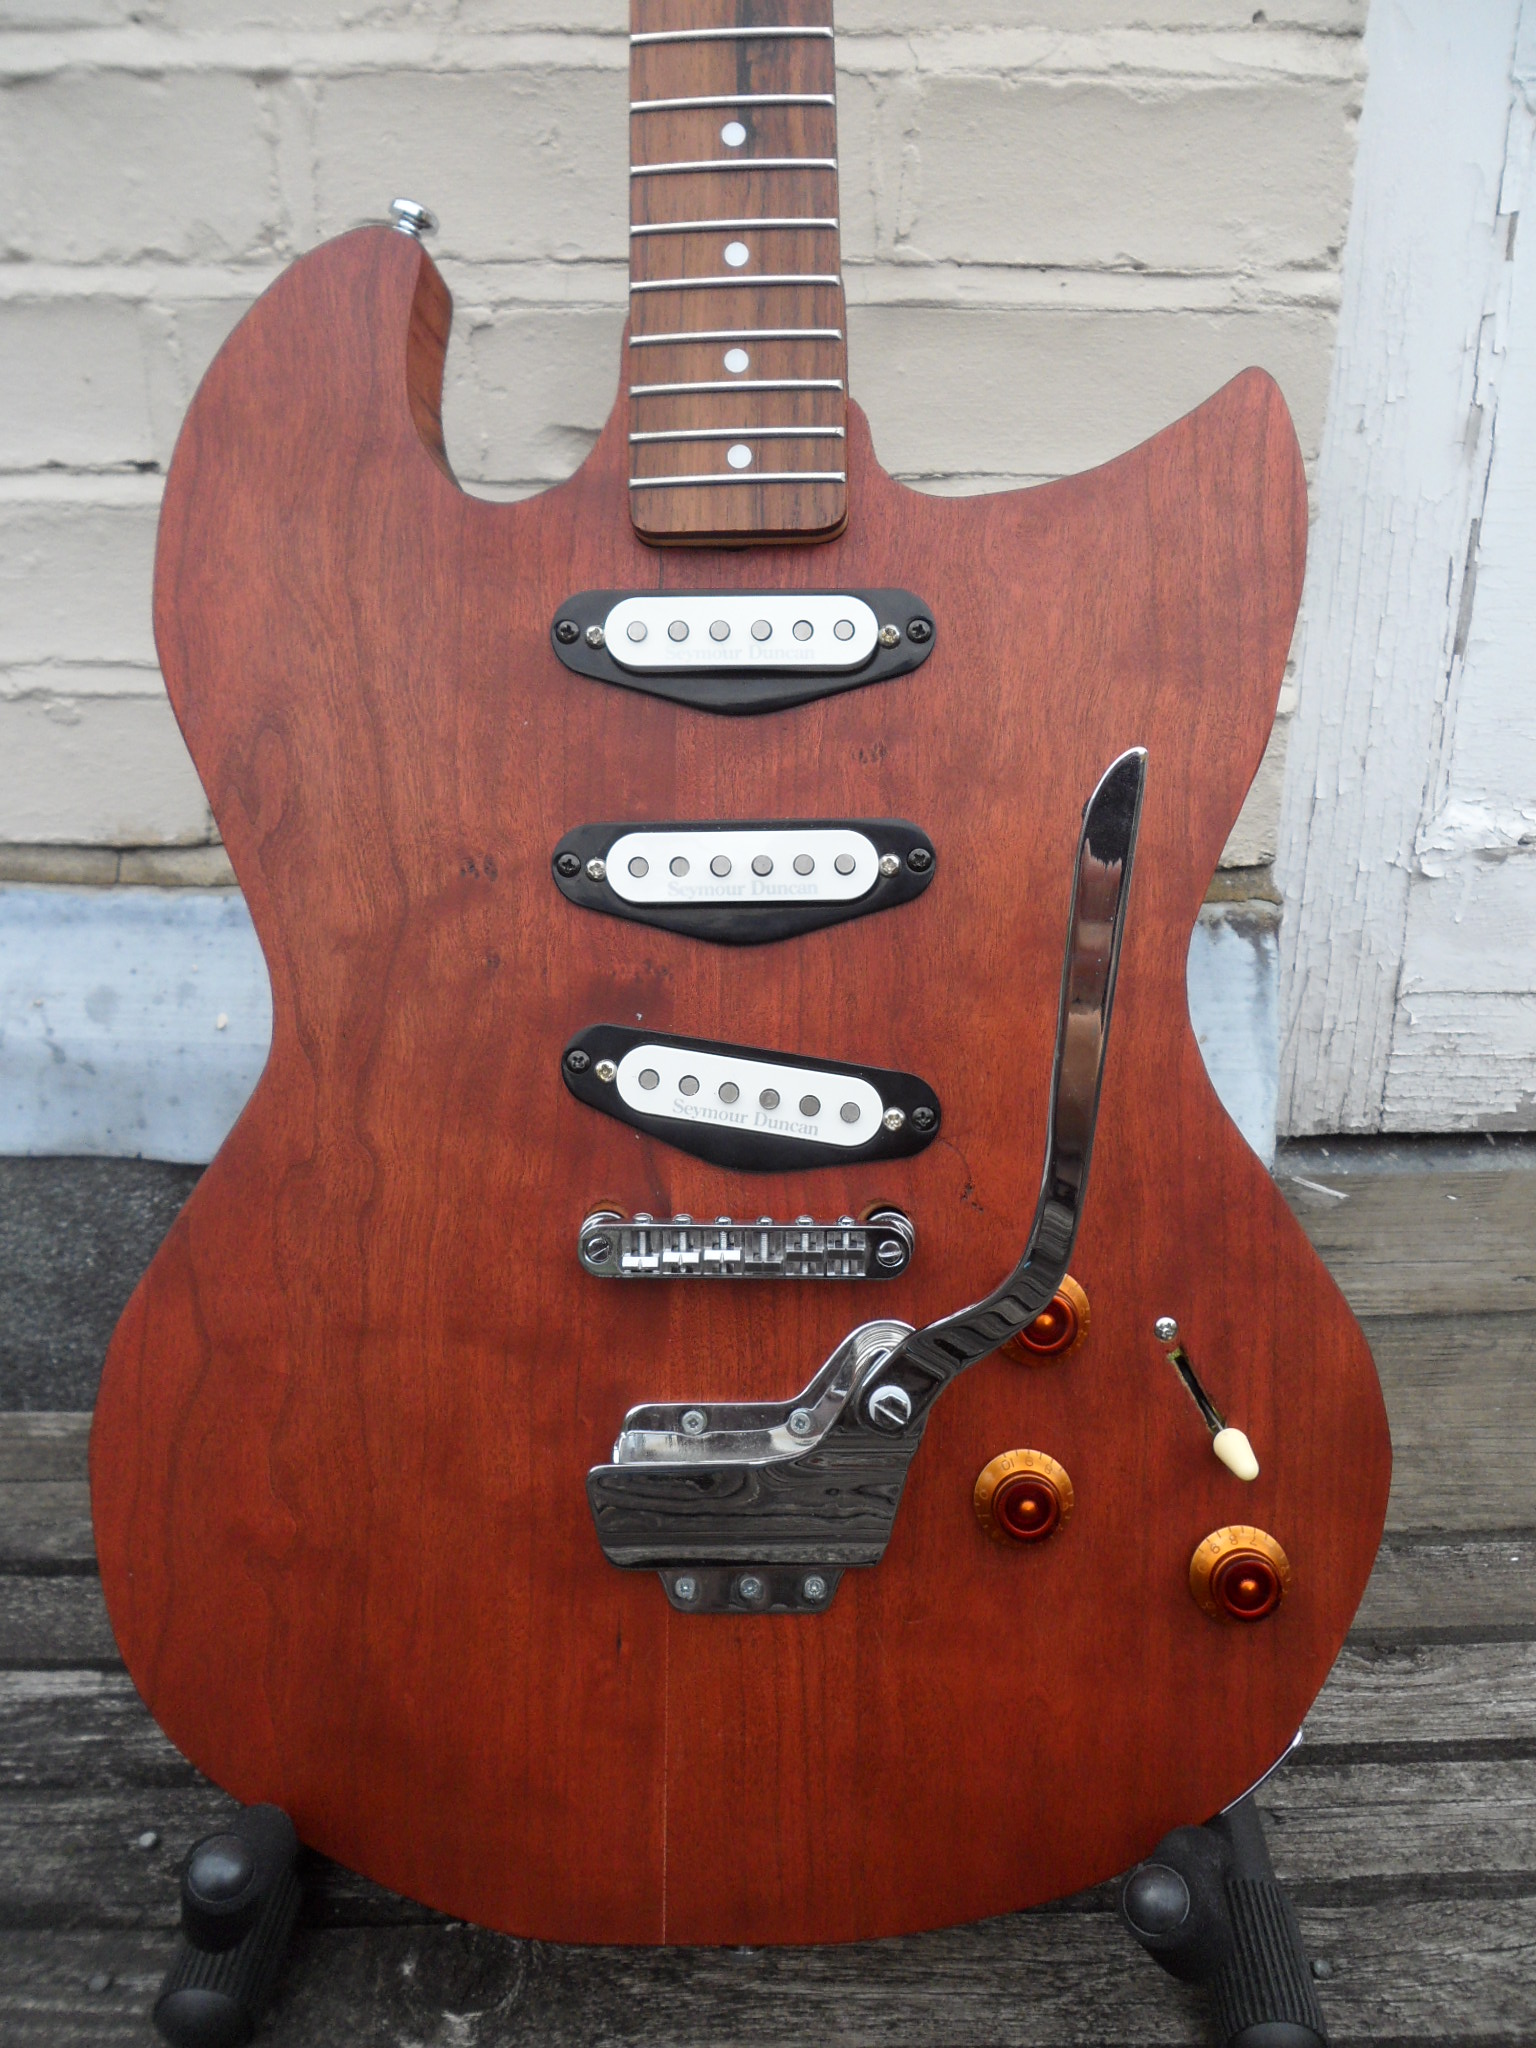
The picture above shows the slight problem though. You can see that the bridge plate is at a very slight angle! Now, the intonation is fine and the bridge is in an accurate enough location, but that angle presents a slight problem that I only noticed when I put the humbucker in (a single-coil-sized humbucker).

Very sorry for the blurry picture. I will take a better when for a final blog entry on this guitar.
You can sort of see in the pictures, though, that one of the rails on the humbucker does not sit underneath the 6th string. I think that this is the reason why the 6th string sounds a little quieter than the others. This is a problem for my rhythm work, as hard-rock style riffs often rely on the heaviness of the 6th string.
I have two options:
i. raise the bridge pickup by only tightening the screw under the 6th string. This might affect the tone of the guitar, however. Or,
ii. re-position the bridge (the solution I know is the right one). I can just fill in the screw-holes with toothpicks and wood glue, then drill new ones. This is a relatively easy procedure and the more I am typing, the more I think I will do this.
Maybe I will tackle it next weekend. Depends on the weather!
As things stand now though, the guitar does play well (aside from the ever-so-slight volume dip in the 6th string). It was my main guitar for a while last year when I was in a band. I’ve gigged with it only a couple times, but it was my main rehearsal guitar.
I will put a short video demo of this guitar when I’m done with it.